

Build your social network in under 60 minutes
WordPress powers almost 30% of the Internet. Part of its large success comes from its extensibility. But can we build a social network based on WordPress, in less than an hour? Of course, we can!
We are going to use WordPress and BuddyPress to build our social network.
Below are all the instructions you need, to build a social network and have it up and running in a matter of minutes!
Get a kickass domain name
The domain name can play a big part in the early success of a social networking site. You need something small and catchy. If your site focuses on a niche then it will be good to include that in the domain name.
Finding a good domain name that covers the requirements can be a daunting job, but don’t worry. There are services that help you find and buy creative domain names based on your criteria, quickly. A few of them are:
Get a powerful hosting
There are many good hosts out there but we have to choose wisely. That is because a social network has some very specific needs. First of all our host needs to support WordPress and if they are optimized for it, that is even better.
Next, we have to keep in mind that a social network has a lot of user-generated content. That means that traditional caching methods that cache the pages as HTML code cannot be applied here.
Hosts that support Bytecode and Object Caching as well as caching mechanisms like Varnish or Redis can help us provide a much better service for our users.
You can use any host you prefer, but my personal favorite is Kinsta which has proven to have better performance from all shared hosting plans I have tried lately.
Connect the domain to your host
After getting a host for your site, you need to set up your domain name so it points to your host.
To do this, you need to acquire the hosting’s nameservers. They are usually sent with the login information in the email you received after getting a hosting plan.
If you are not able to find them there, then you can look in the hosting’s dashboard. The nameservers are usually displayed along with the other account information.
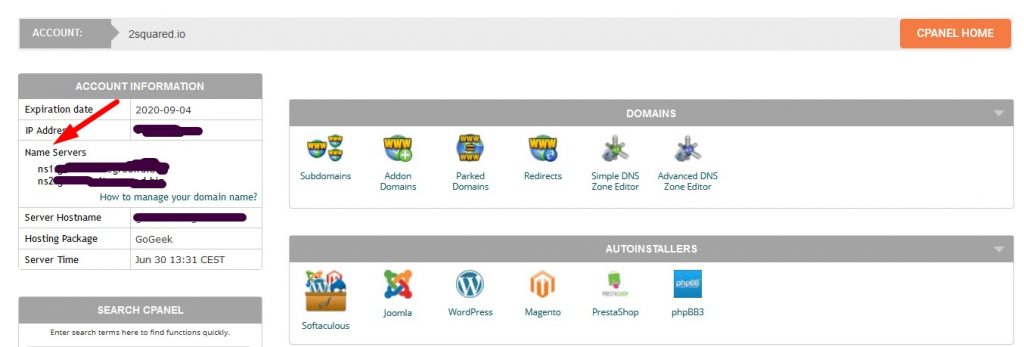
After getting your hosting’s nameservers, you have to log in to the domain registrar, select your domain and switch its nameservers to the ones you got from your hosting plan.
Note: After adding your nameservers, the change might need some time to be applied due to DNS propagation.
Install WordPress
WordPress is well known for its one-click installation process. What is even better is that there are many hosts that automatically install WordPress for you.
If your host doesn’t, it is still very easy to do it yourself:
- Download the latest WordPress version from WordPress.org.
- Extract the files from the archive in a folder on your computer.
- Connect to your host using an FTP client (like FileZilla) and the credentials provided by your host.
- Upload the files from the uncompressed WordPress archive.
- Open a browser and type in your domain name.
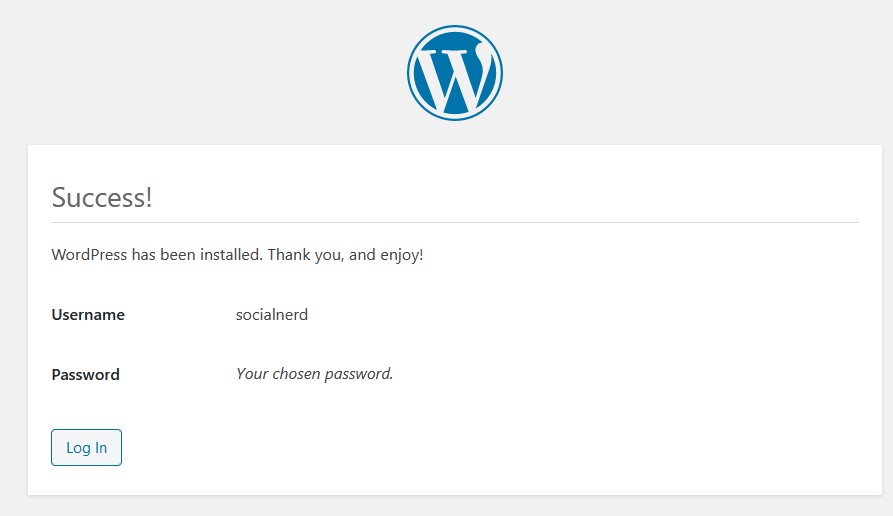
- Follow the instructions and finish the installation. (If you need more help, please read here)
- Congratulations, you now have a website ?!
Install a WordPress theme for BuddyPress
Now that we have a WordPress website up and running we will have to choose an appropriate theme for own social network. The main requirement of the theme is that it has to support BuddyPress since that will be the plugin that will turn our site to a social network.
There is a great variety of free and paid themes that support BuddyPress. A great resource for free themes is the WordPress Theme Directory while for paid themes you can look at Themeforest.
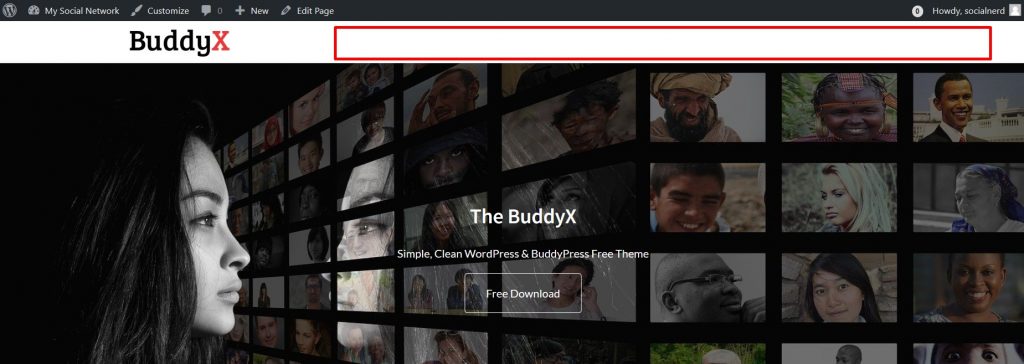
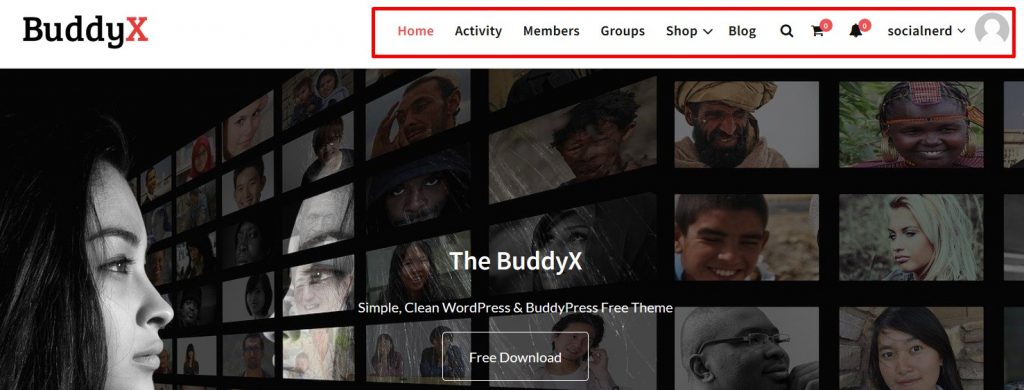
For this tutorial, we are going to use the BuddyX theme a free BuddyPress theme that works great and looks really cool.
You can download the BuddyX theme for free here. After downloading it, follow the next steps:
- Go to your WordPress installation.
- Log in the admin (wp-admin).
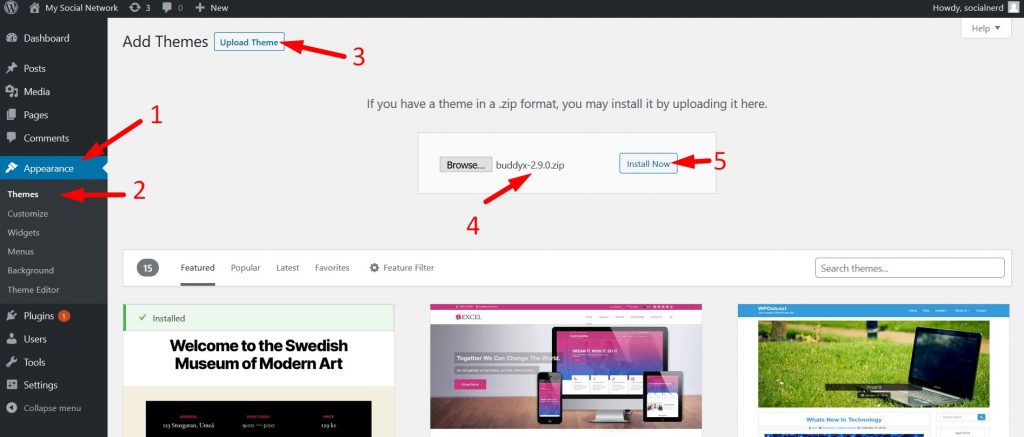
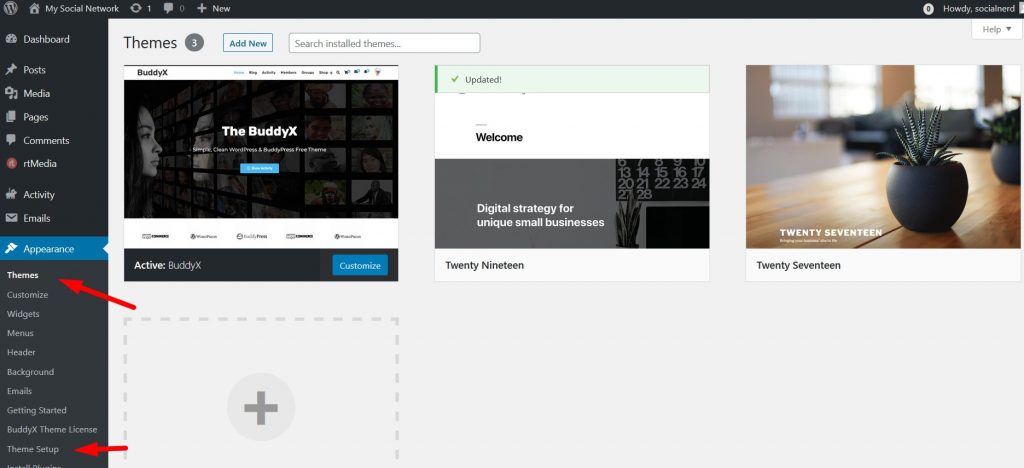
- Go to Appearance -> Themes.
- Click “Upload Theme”.
- Select your theme and click “Install Now”
Install BuddyPress and other plugins
After activating the theme, we have to install BuddyPress and all other required plugins. To do so we can click on Appearance -> Install Plugins. Then we select the plugins we want to install from the list of the recommended plugins, select Install, and click Apply.

Note: I have left out the WooCommerce plugin since no e-commerce functionality will be needed for this tutorial.
Next step is to enable all plugins. We go to Plugins -> Installed Plugins, select the plugins we want to enable, select Activate and click Apply

Setup the child theme and import content
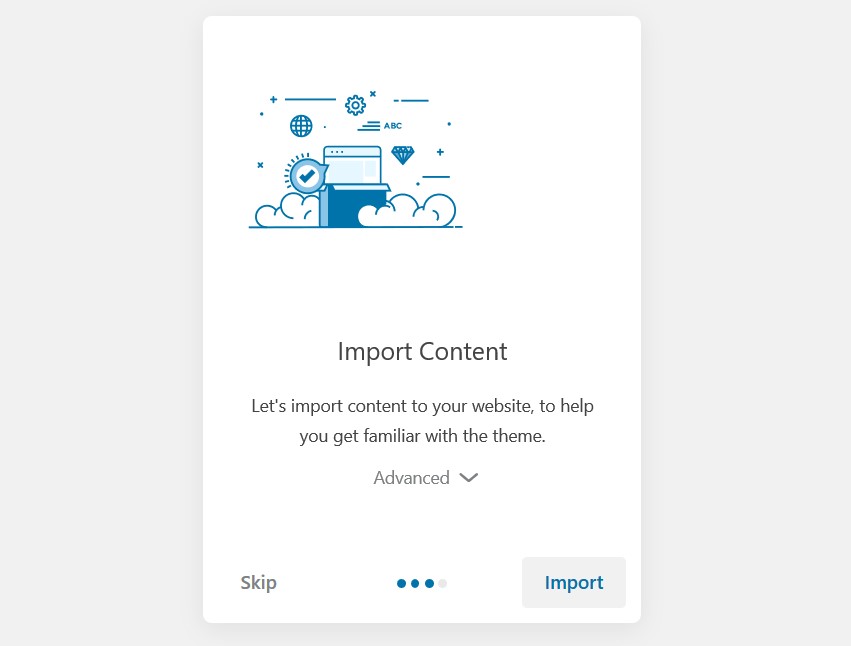
Having a theme installed is great, but to add our own customizations a child theme is needed. Luckily, the theme has its own setup wizard that allows us to create a child theme with a click of a button.
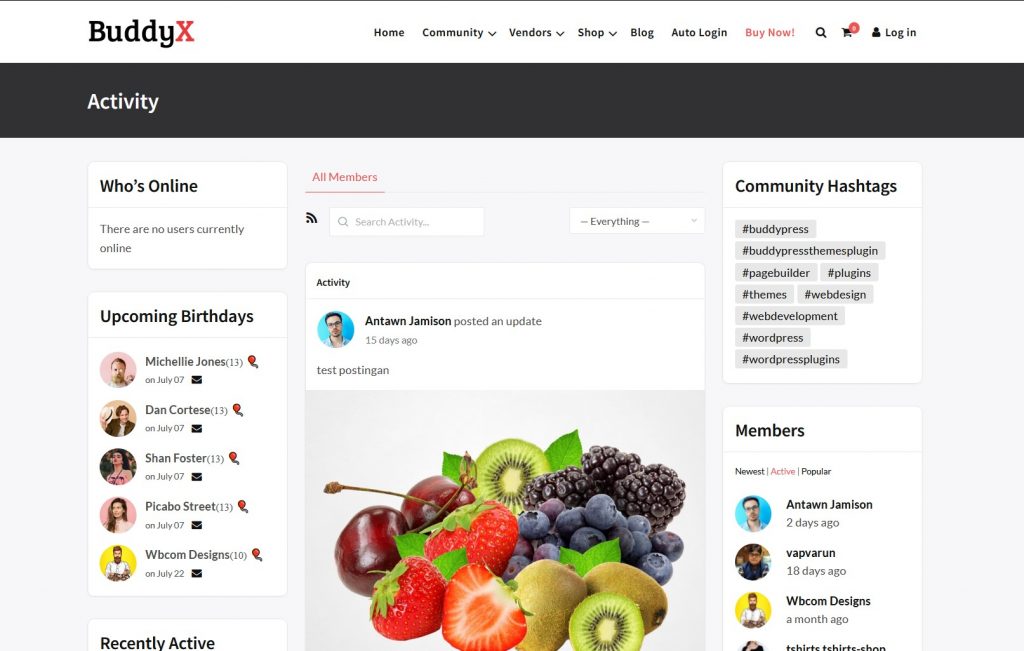
The same wizard also allows us to import demo content so the site looks like the demo.
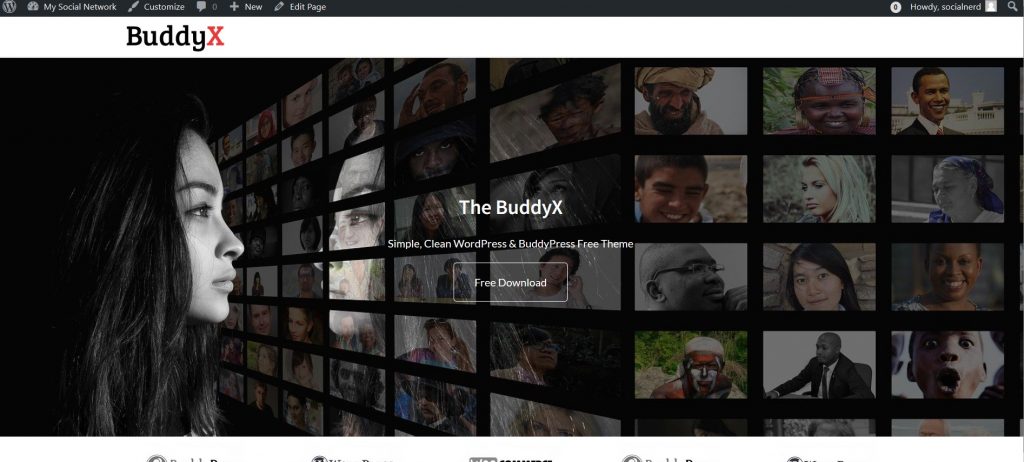
Woohoo ?! Our theme is installed and the site looks exactly like the demo!
Configure BuddyPress
BuddyPress is the engine that powers our social network and we have to configure it so it works as we want it to. BuddyPress’s options are in Settings -> BuddyPress.
Components
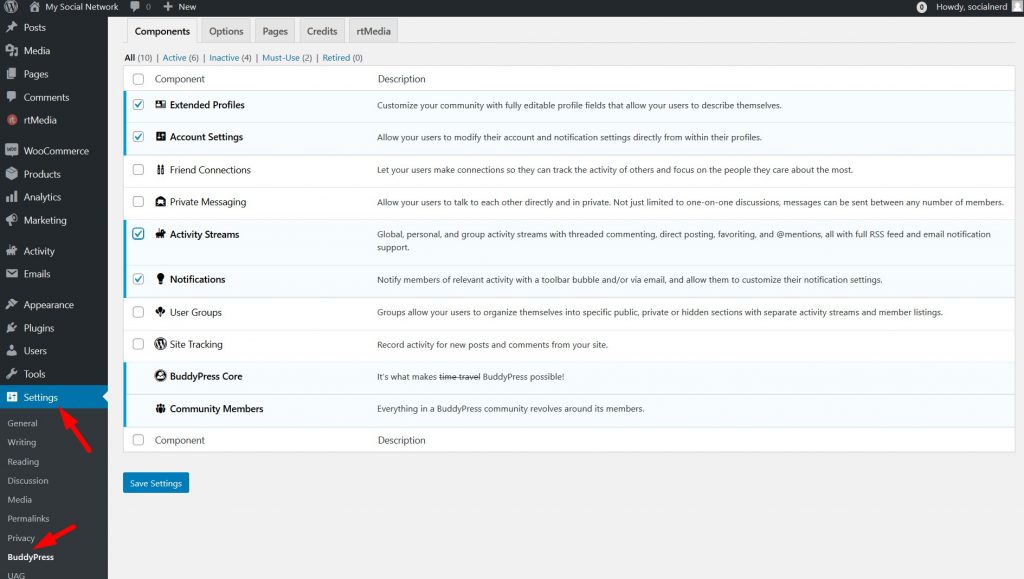
Here are all available components BuddyPress offers and we can enable or disable the components we want our members to use.
All the components in a glance:
- Extended Profiles: Customize user profiles and add custom fields
- Account Settings: Allow members to edit their profile details and notifications
- Friend Connections: Allow members to send friend requests to other members.
- Private Messaging: Allow members to send private messages to each other.
- Activity Streams: Display global, personal and group activity streams (feeds).
- Notifications: Notify members for a variety of activities using a toolbar bubble and emails.
- User Groups: Allow members to join groups and organize.
- Site Tracking: Track new blog posts and comments from the site and create the appropriate activities.
- BuddyPress Core: The core BuddyPress functionality. (Required)
- Community Members: The members’ functionality (Required)
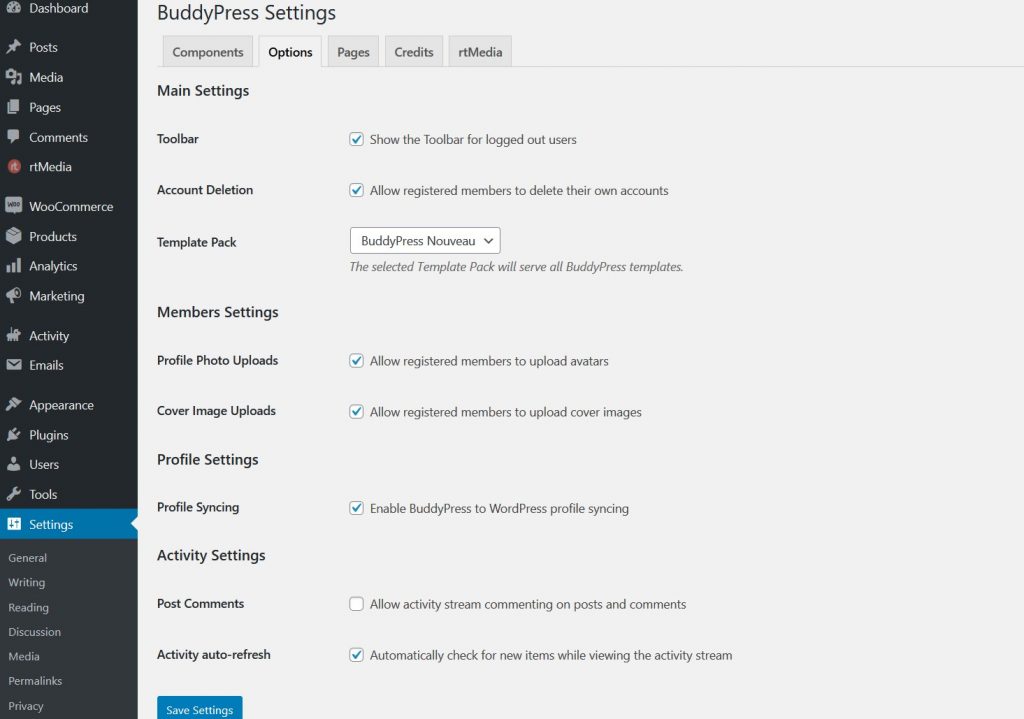
Options
Customize BuddyPress’s main and member settings and change the user experience by activating and deactivating actions.
Pages
Here you select the main pages that need to be associated with BuddyPress.
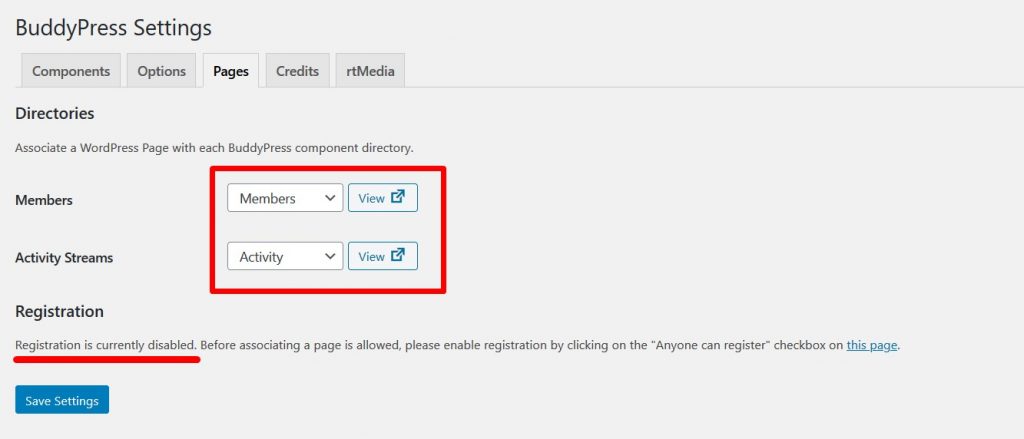
The default pages will work fine since the content import wizard created them for us. It is important to note though that we will have to setup a registration page, but that can be done only after enabling user registrations.
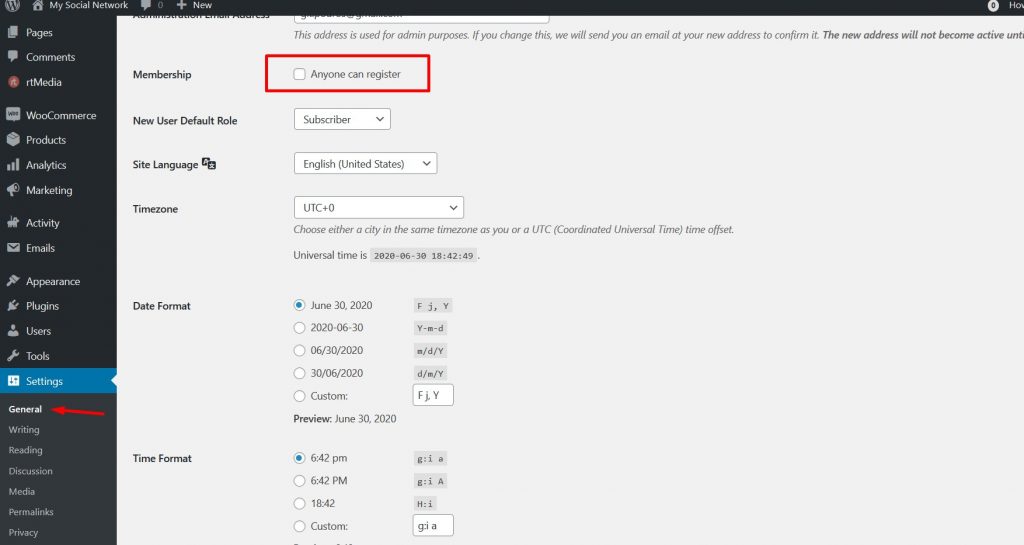
Enable user registrations
A simple yet very important step is to enable users to register. To do this we to to Settings -> General, check “Anyone can register” next to the Membership option and click “Save Changes”.
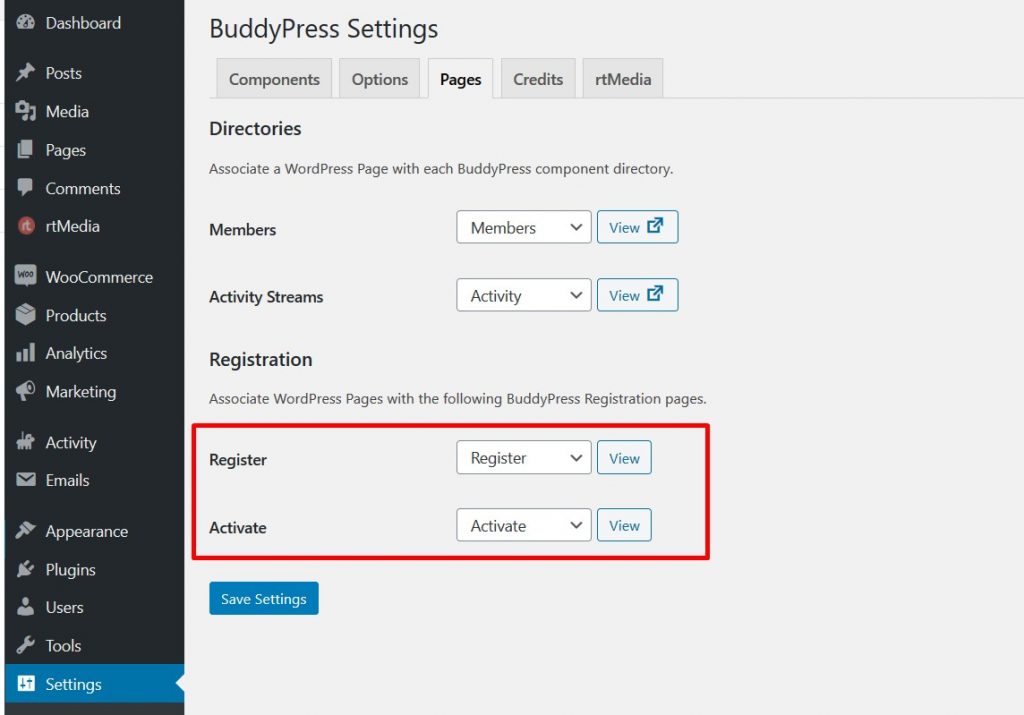
Then we can go back to BuddyPress’s settings and select the Register and Activate pages.
Setup menus
Our new site has currently no menus and navigation. We need to create two menus. One for the site navigation and one for the member actions.
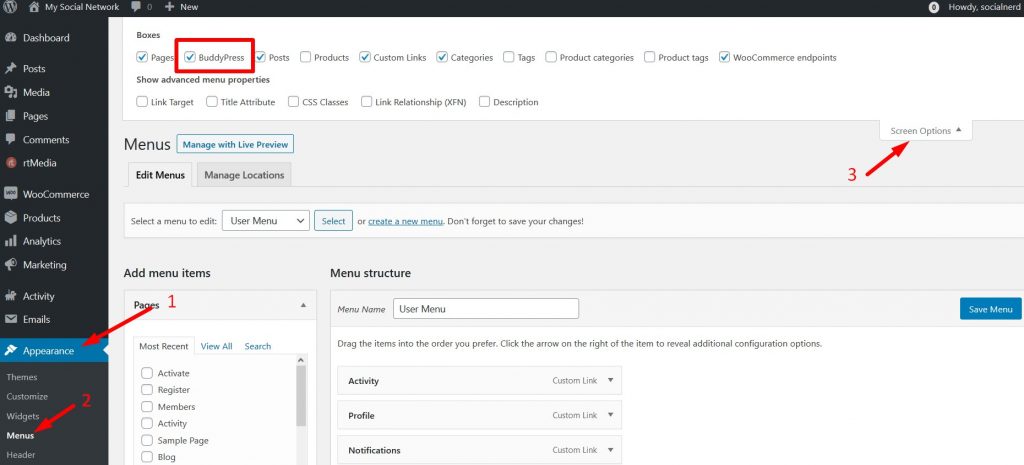
The first step to do this is to go to Appearance -> Menus and click on the “Screen Options” button. Then we will be able to select BuddyPress so all BuddyPress items are now listed in the menu items list.
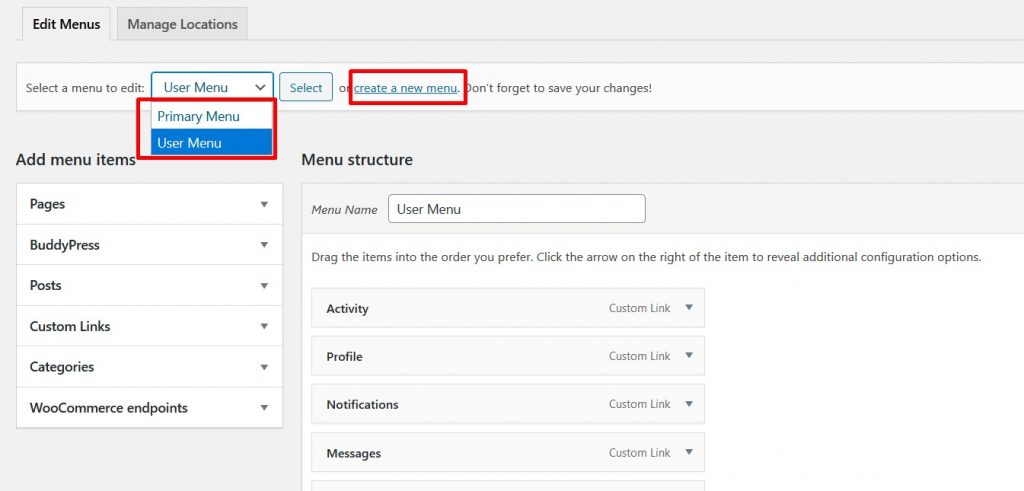
Now we will be able to create the two new menus or edit the existing ones by adding and removing menu items.
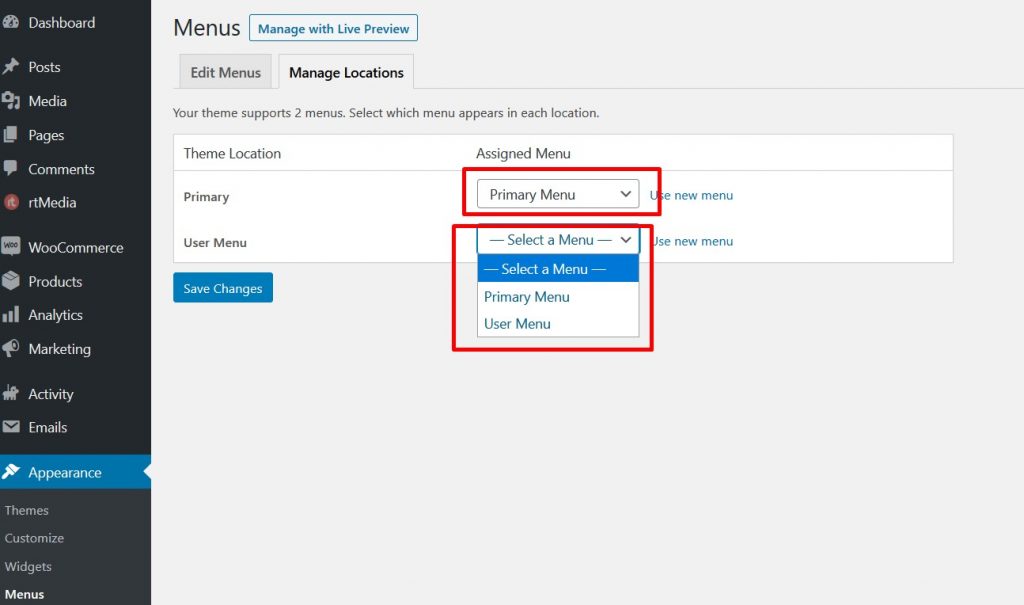
The final step for displaying the menus is to click on the “Manage Locations” tab and assign the menus to the appropriate locations.
And Voila! The menus are set and they look beautiful ? You can customize them to add important pages and links for your site.
Conclusion
Creating our own social network using WordPress and BuddyPress can be easier than you think. The configuration might seem a bit daunting at start but after getting the hang of it, everything will feel much better.
Both WordPress and BuddyPress have a great selection of plugins and addons that allow you to create one of a kind community websites that can cover most of your needs.
What do you think? Have you tried to create a social networking platform yourself?